lans.cloud Tools

Minecraft Pixel Art Generator

Free Minecraft pixel art generator: turn any image into a block-by-block build plan, with a wool/concrete/terracotta palette picker, a shopping list in stacks of 64, a printable build guide, and .schem export for WorldEdit and Litematica.

Quick answer

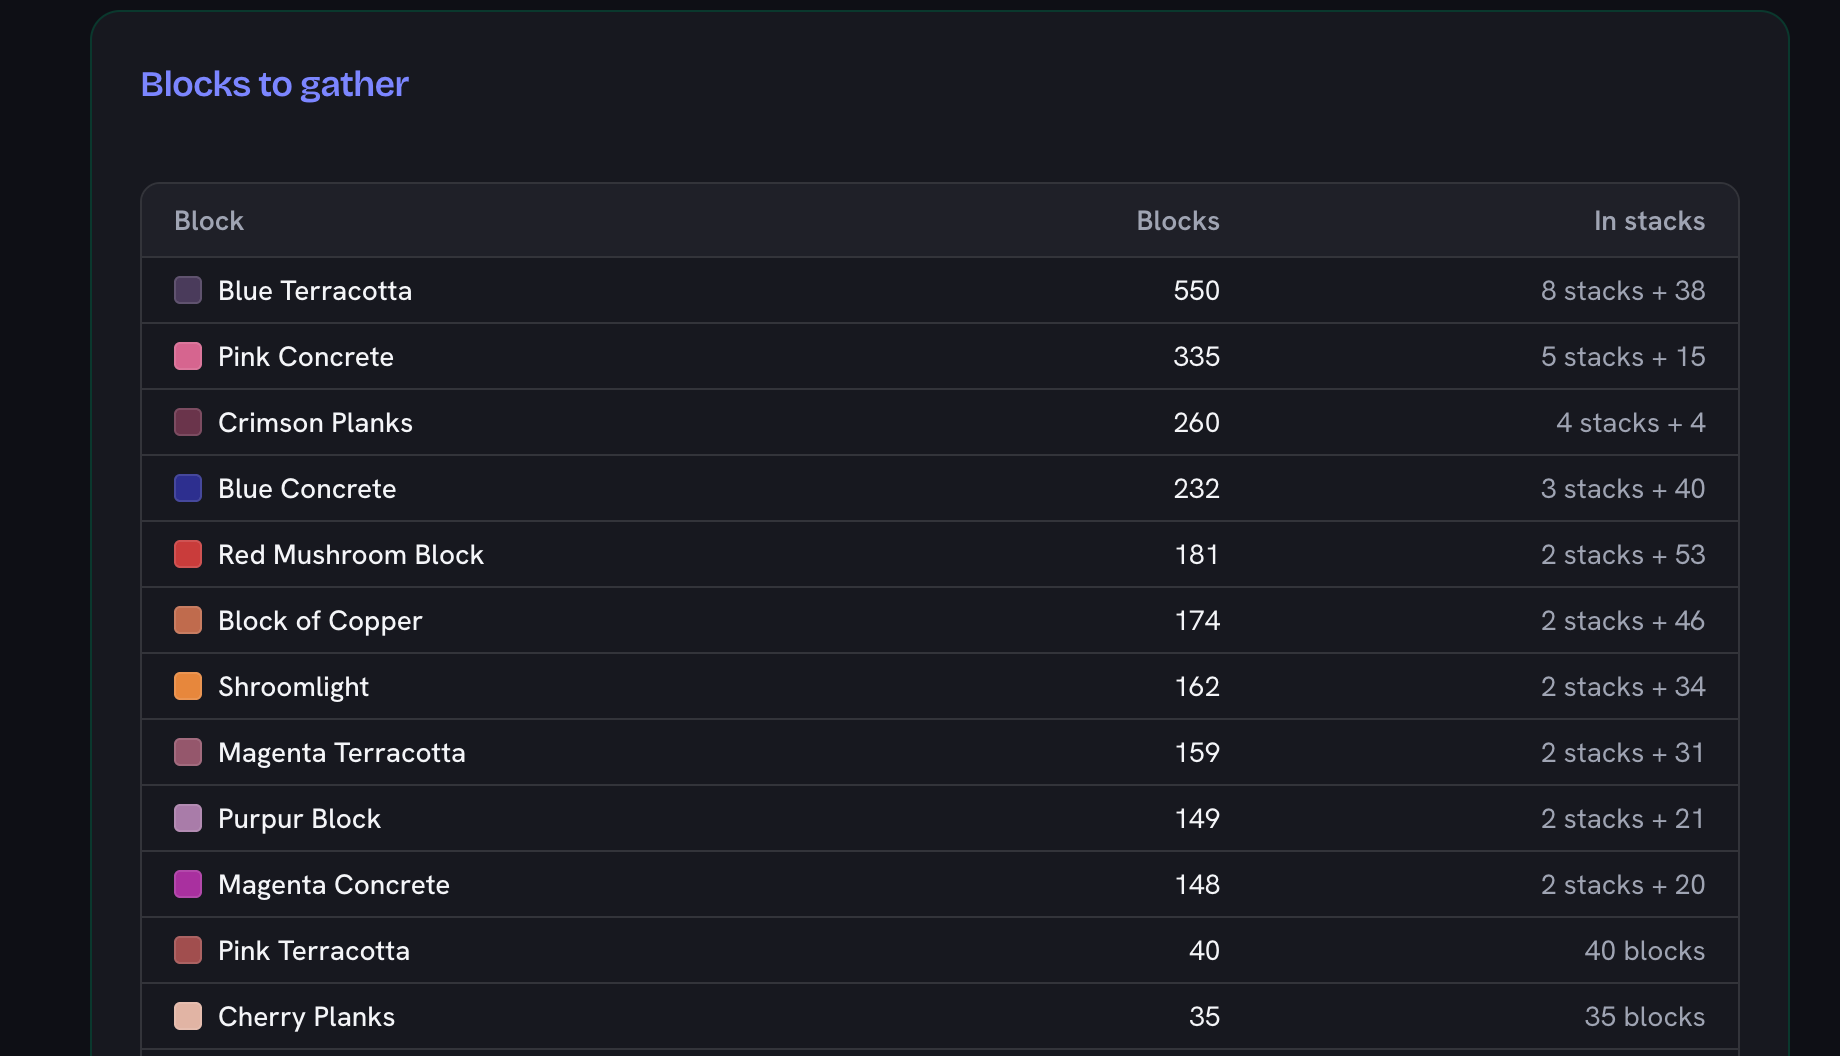
A Minecraft pixel art generator turns an image into a grid of blocks you can build as a flat wall. Upload a picture, choose how many blocks wide the build should be, and this one matches every cell to the closest of 143 Minecraft blocks — then gives you the shopping list in stacks of 64 and a printable row-by-row build guide. A square picture at 64 blocks wide needs 4,096 blocks (64 stacks). Your image is converted in your browser and never uploaded.
Was this tool helpful?
Support this site

Turn Any Image Into Minecraft Blocks

Building pixel art in Minecraft is easy to start and surprisingly hard to finish. The picture in your head is made of millions of colours; your world is made of a few hundred blocks, and only some of those are flat enough to use. This Minecraft pixel art generator does the translation: drop in a photo, a logo, a game sprite or a drawing, and it converts it into a block-by-block build plan with the exact materials list you need before the first swing of a pickaxe.

Everything runs in your browser. The image is read, shrunk to the build size you choose, and matched against 143 solid Minecraft blocks — 16 wools, 16 concretes, 17 terracottas, 11 plank types and the whole stone, earth, nether and mineral range. Nothing is uploaded and nothing is stored.

Why the Colour Matching Uses Lab, Not RGB

Most image to Minecraft blocks converters pick the block whose RGB values are numerically closest to the pixel. That sounds right and looks wrong, because RGB distance has nothing to do with how different two colours appear: green carries most of what your eye reads as brightness, blue almost none, and grey ends up numerically “close” to everything. Match a portrait that way and the skin tones come out as stone.

This generator converts both the picture and every block into CIELAB first — a colour space built so that equal distances are roughly equal perceived differences — and matches there. In practice that means terracotta where terracotta belongs, and a build that looks like your picture from thirty blocks back.

Dithering: When to Turn It On

Sixteen wool colours cannot render a sunset. Dithering gets around that by spreading each block’s colour error into its neighbours, so a checker of two blocks blends at a distance into a shade that is not in the palette at all. Photographs, skies and anything with a gradient want it on. Logos, flags, flat game sprites and text want it off — there, the same speckle just reads as dirt on the wall.

Choosing a Palette

Concrete is the sharpest material in the game: completely flat, strongly coloured, and it makes the crispest Minecraft block art there is. Wool is the classic — same sixteen colours, softer, and renewable from a sheep pen forever. Terracotta is muted and earthy and quietly the best choice for faces and landscapes. Planks give you warm sepia tones, and the stone family is a full greyscale ladder for logos and portraits without a single dye. Leave the picker on every block and the generator mixes families freely for the closest match; restrict it and you get a build with a deliberate, consistent look.

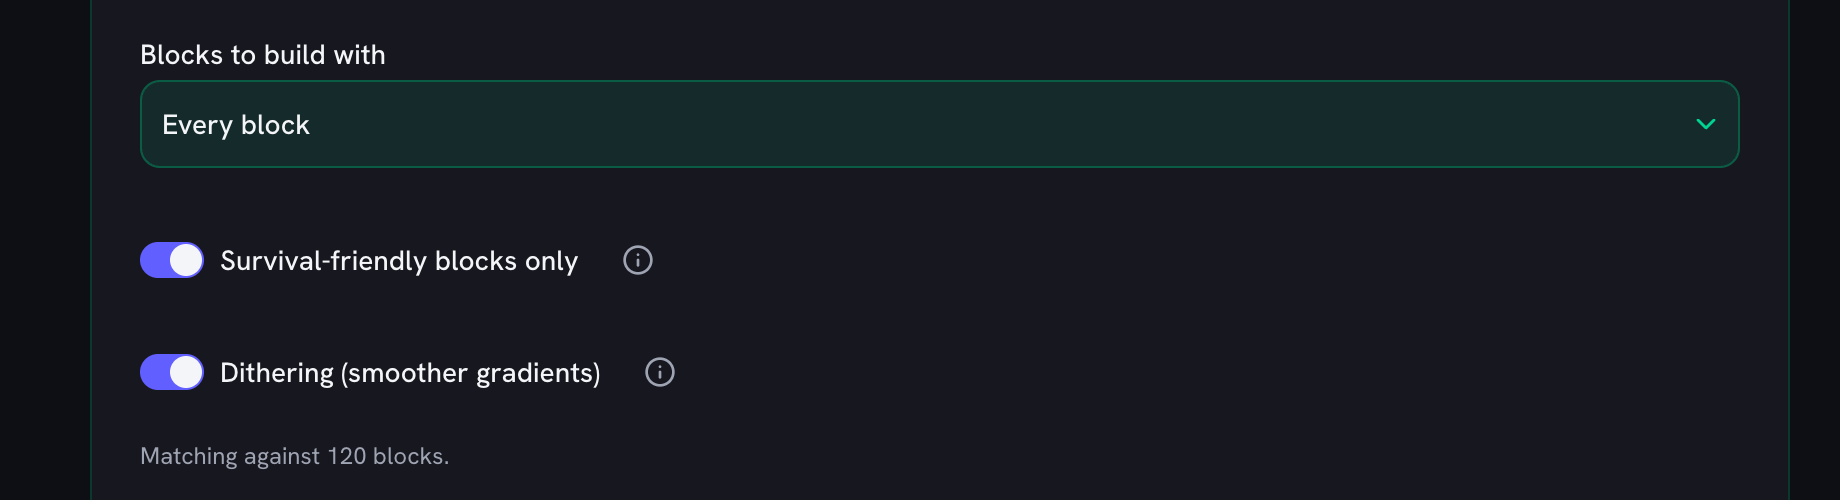
The survival filter is the one nobody else offers. Switch it on and every block you could not realistically gather in the thousands — diamond, emerald, gold, obsidian, sponge, sea lantern — drops out of the match, so the plan you print is a plan you can actually build without creative mode.

Skip the Counting: the Schematic Export

Counting rows off a chart is fine for a 32-block sign and miserable for a 128-block mural. If you play modded Java, the .schem export removes that step entirely. Download the file, and Litematica will project your build into the world as a hologram — it highlights the exact block that goes in the next slot, which means you build the whole thing in survival without ever looking back at this page. WorldEdit takes the same file and pastes the build instantly, which is what you want in creative or on a server.

It is a standard Sponge v2 schematic, generated in your browser along with everything else, and it contains only the blocks your picture actually uses. Playing vanilla or on Bedrock, with no mods? Nothing is lost — the printed guide and the shopping list are the no-mods version of the same plan, and they are what the rest of this page is built around.

Building It In-Game

Build pixel art as a flat vertical wall, facing whichever way people will approach from. Place the bottom row first and work up, or scaffold and work down — either is fine, as long as you keep track of the row you are on. The printable build guide gives each row as a short list of runs (“12 White Wool from column 5”), which is far easier to follow mid-build than counting squares on a chart.

Two practical warnings. First, gravity: sand, gravel and concrete powder fall, so use concrete (the hardened block), not the powder. Second, distance: a 128-block mural is invisible up close and needs render distance to appreciate — if you are building on a server or a console, check what people will actually see before committing to a month of mining. If a circular shape is what you are really after, the Minecraft circle generator gives you the same kind of chart for rings and domes.

How Many Blocks a Pixel Art Needs

This is the question that decides whether a build happens. The chart below is computed by the generator’s own sizing function, for a square picture and for a 16:9 one, so you can see the material cost before you commit. Emeralds are optional; time is not.

Blocks needed by build width

WidthSquare imageBlocksIn stacks16:9 imageBlocks
16 wide16 × 162564 stacks16 × 9144
32 wide32 × 321,02416 stacks32 × 18576
48 wide48 × 482,30436 stacks48 × 271,296
64 wide64 × 644,09664 stacks64 × 362,304
96 wide96 × 969,216144 stacks96 × 545,184
128 wide128 × 12816,384256 stacks128 × 729,216
192 wide192 × 19236,864576 stacks192 × 10820,736
256 wide256 × 25665,5361024 stacks256 × 14436,864

Height follows your picture's aspect ratio — the generator counts the exact total for the image you load, and splits it per block type.

Minecraft Wool Colours and Their Hex Codes

Wool is where most pixel art starts, so here is the whole family with the colour each block actually renders as — the same values this tool matches against. Handy when you are picking a palette in an image editor before converting, or trying to match a build to a logo. Concrete and terracotta run the same sixteen colours in harder and softer versions — the rest of the Minecraft set lives over on the gaming tools hub.

Minecraft wool colours (hex)

Wool colourHexSwatch
White#E9ECEC
Light Gray#8E8E86
Gray#3E4447
Black#1D1C21
Brown#835432
Red#B02E26
Orange#F07613
Yellow#F8C627
Lime#70B919
Green#5E7C16
Cyan#158991
Light Blue#3AAFD9
Blue#3C44AA
Purple#8932B8
Magenta#BD44B3
Pink#ED8DAC

Average texture colour of each wool block, Java Edition 1.21 — the values the generator matches your picture against.

How to make pixel art in Minecraft

From a picture on your phone to a wall in your world, in five steps.

  1. Add your picture

    Drop an image onto the preview or use the picker. Photos, logos, game sprites and drawings all work. Everything happens in your browser — the file is never uploaded.

  2. Choose how wide the build should be

    Set the width in blocks (16 to 256). The height follows your picture’s shape automatically. 64 is the sweet spot for recognisable faces at a realistic block count.

  3. Pick the blocks to build from

    Leave it on every block for the closest colour match, or restrict it to wool, concrete, terracotta, planks or stone. Turn on the survival filter to drop blocks you could never gather in bulk.

  4. Gather the materials

    Read the shopping list — every block type with its count and its total in stacks of 64 — and mine that before you start building. Mine a little spare.

  5. Build it row by row

    Print the build guide (or copy the text list) and work through it one row at a time: each row is a handful of runs like “12 White Wool from column 5”. Build the wall flat, and step back often.

Frequently Asked Questions

How do you make pixel art in Minecraft?

Pick an image, decide how many blocks wide the build should be, and convert it to a block grid — that is what this generator does. Then build it as a flat vertical wall: stand back far enough that the blocks blend, place the bottom row first, and work upwards row by row using the build guide. The trick nobody tells you is to keep the build simple and the picture bold — a logo or a game character reads far better at 64 blocks than a detailed photograph does.

How many blocks do I need for Minecraft pixel art?

Width × height, and the height comes from your picture’s shape. A square image at 64 blocks wide is 4,096 blocks — 64 stacks. At 32 blocks wide it drops to 1,024 (16 stacks), and at 128 it jumps to 16,384 (256 stacks). The generator counts the exact number for your picture and splits it per block type in stacks of 64, so you know what to mine before you start. The sizes chart below lists the totals for every common width.

What blocks are best for Minecraft pixel art?

Concrete is the sharpest — it has no texture noise at all, so the picture reads cleanly from a distance. Wool is the classic and the cheapest, with the same 16 colours in softer tones. Terracotta is muted and earthy, which makes it the best family for skin tones, landscapes and portraits. Wood planks give you eleven warm tones for sepia work, and the stone family is a deep grey ladder that renders greyscale art without a single dye. This tool matches against all of them at once by default, or restrict it to one family.

What size should my Minecraft pixel art be?

32 blocks wide is a sign-sized build you can finish in one session — good for logos and simple sprites. 64 is the sweet spot: faces become recognisable, and 4,096 blocks is a realistic weekend. 128 is a serious project (16,384 blocks) that photographs well. Above that you are into server-spawn territory, and the build is taller than most render distances let you see at once.

What does dithering do to Minecraft pixel art?

Dithering scatters each block’s colour error into its neighbours, so alternating blocks blend at a distance into shades the palette does not actually contain. It is the difference between a sky that bands into four flat stripes and one that shades smoothly. Turn it on for photographs and gradients; turn it off for logos, flat art and anything with hard edges, where the speckle just reads as noise.

Is the block palette different in Java and Bedrock?

No — every block this generator uses exists in both editions with the same texture, so the same build works in either. What does differ is how you gather them, and how far you can stand back: Bedrock’s render distance on consoles often means a 128-block mural is only visible in pieces.

Is my picture uploaded anywhere?

No. The image is read, shrunk and converted entirely in your browser — it never leaves your device and nothing is stored. Close the tab and it is gone. Only your settings (build width, palette, dithering) are remembered locally for next time.

Can I export a schematic for WorldEdit or Litematica?

Yes — the Download schematic button gives you a standard Sponge .schem file, built in your browser like everything else here. Litematica (a client-side mod) is the one worth having: load the file and it projects your pixel art as a hologram in the world, highlighting the next block to place, so you build it in survival without counting a single row. WorldEdit pastes it outright with //schem load and //paste, which suits creative mode and Paper servers. If you play vanilla with no mods, ignore the file — the printed build guide does the same job by hand.

Where do I put the .schem file?

For Litematica, drop it in .minecraft/schematics, then press M in-game and load it. For WorldEdit on a server, it goes in plugins/WorldEdit/schematics and you run //schem load minecraft-pixel-art. The file is the Sponge v2 format that WorldEdit 7 and Litematica both read; it describes a wall one block deep, so stand where you want the bottom-left corner before you paste.

Can I use this for map art?

For planning, yes — the block grid and shopping list are exactly what a map-art build needs. Be aware that Minecraft maps shade blocks by height as well as colour, so a genuine map-art build uses a staircase pattern to get three tones out of each block. This generator plans the flat wall version, which is what most people mean by pixel art.

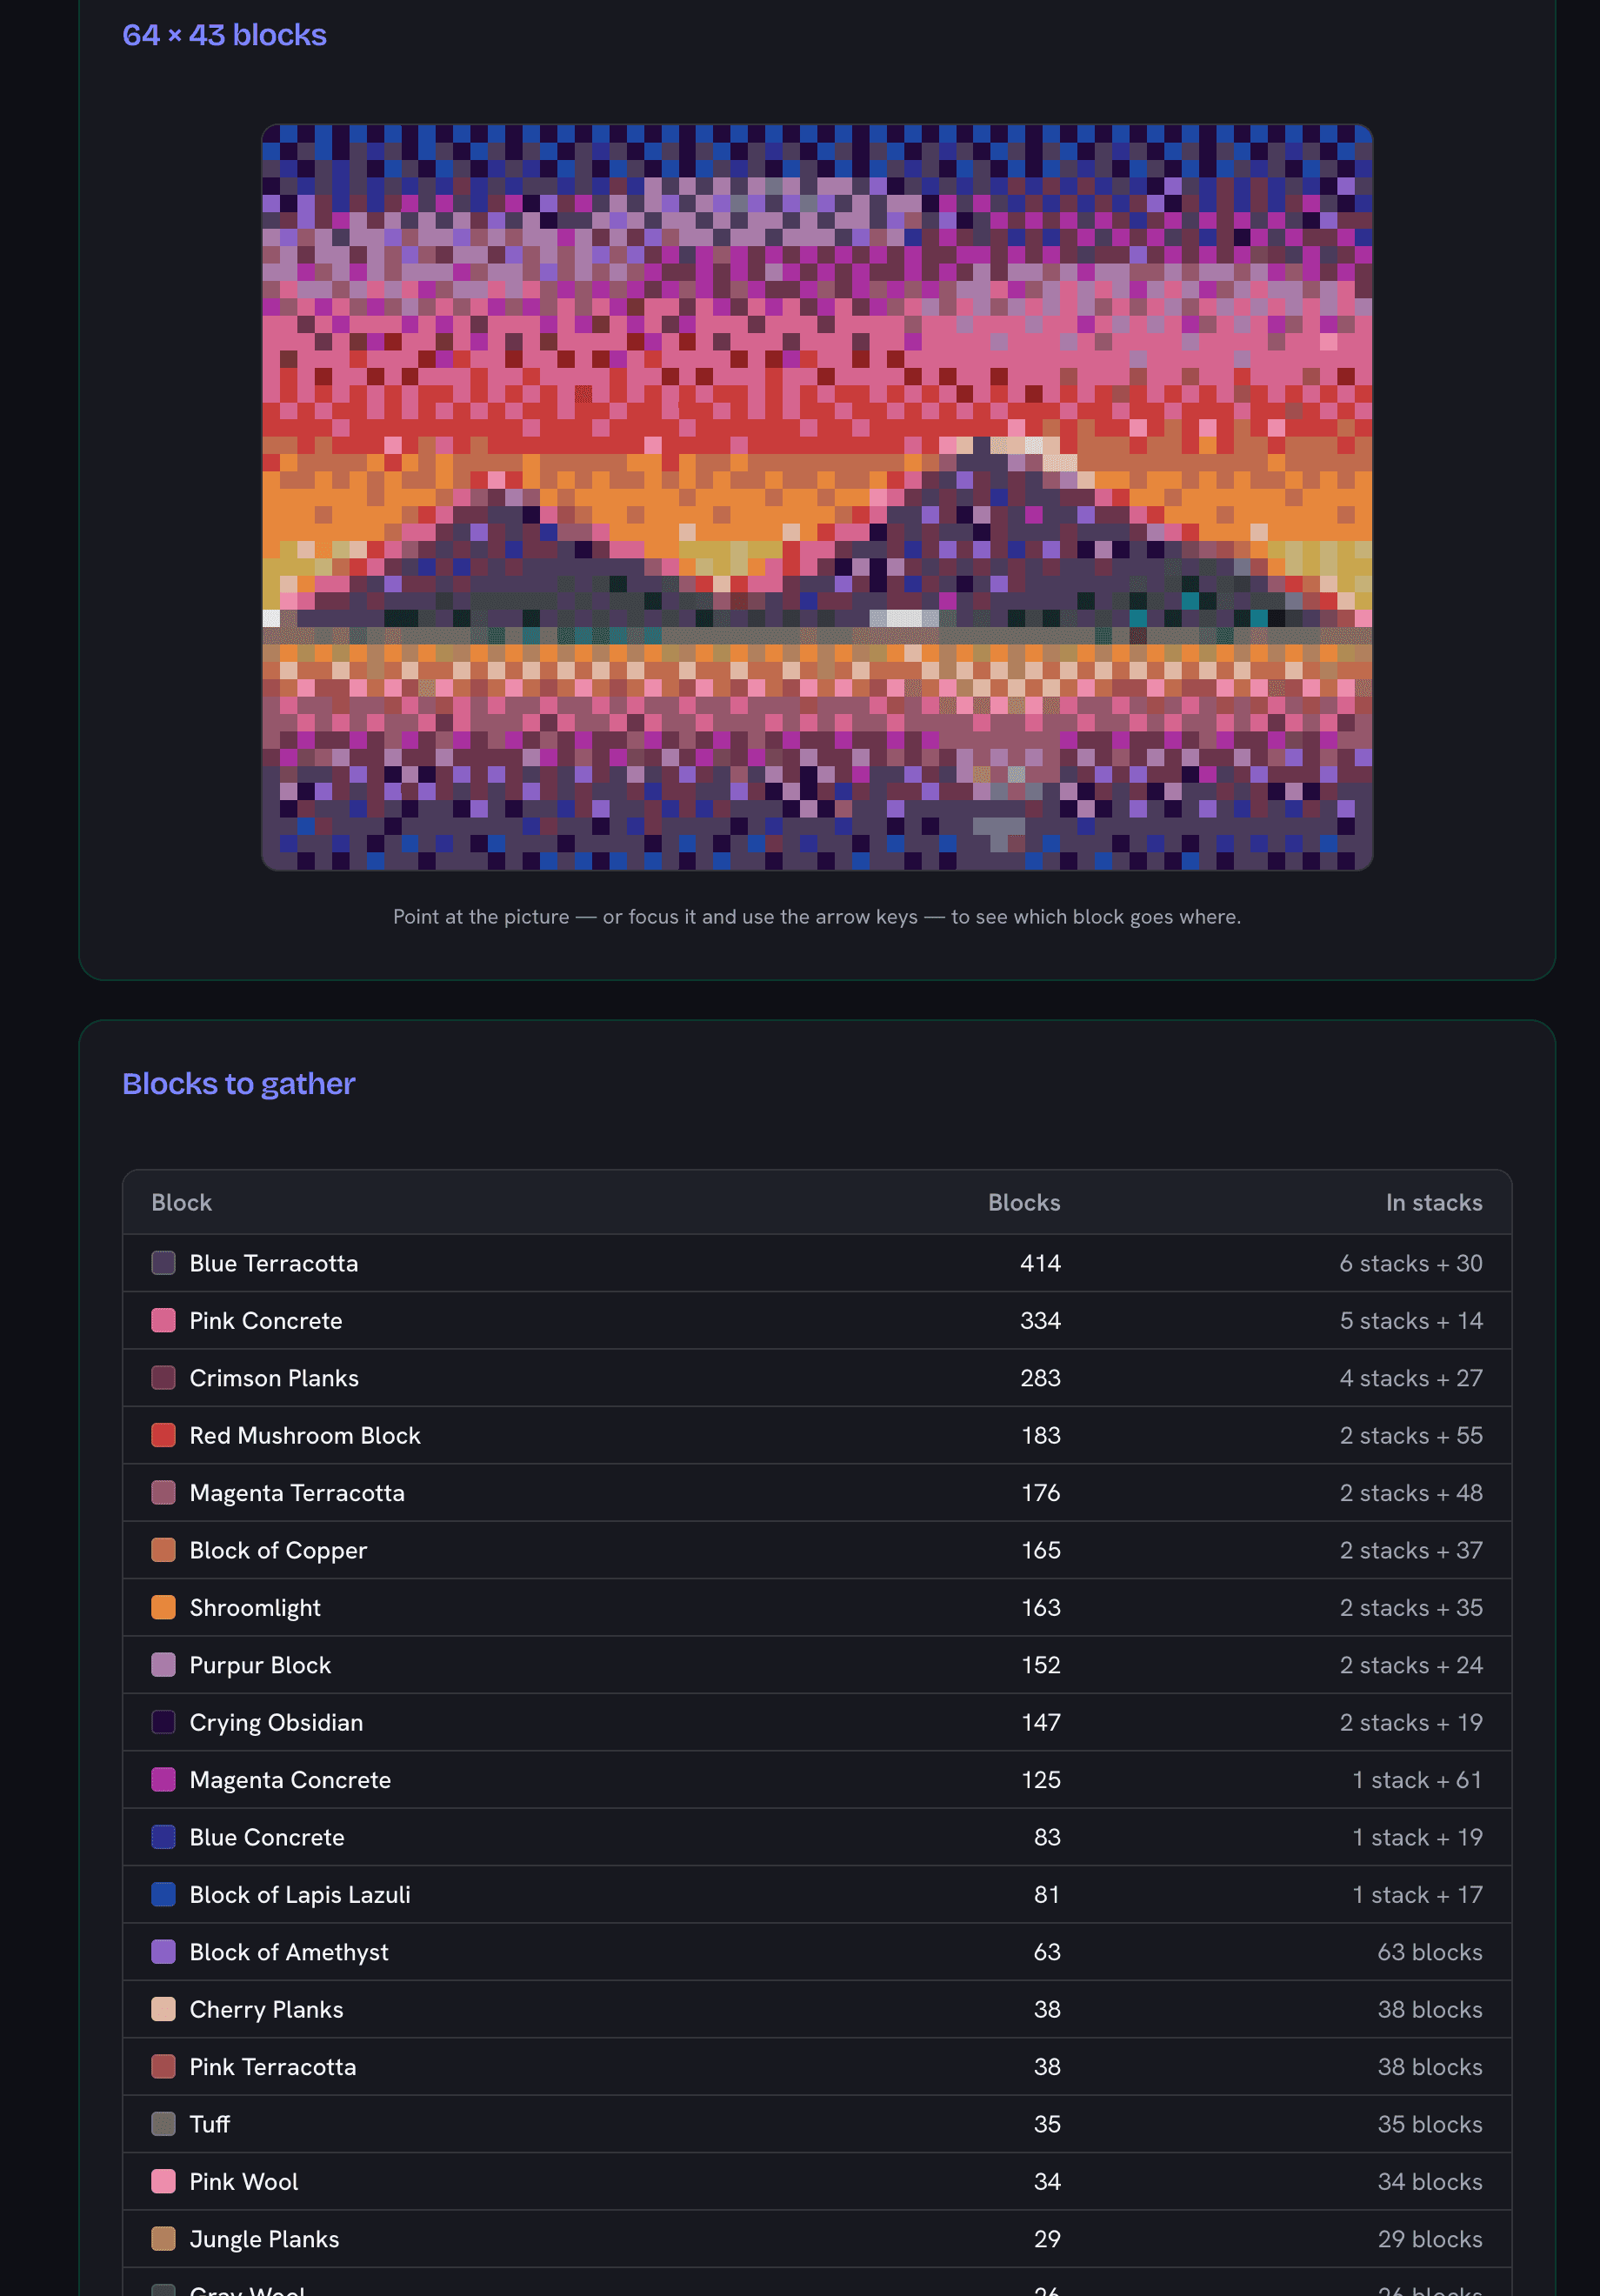
Minecraft pixel art generator converting a photo into a 64-block-wide wall of coloured blocks, with the shopping list in stacks of 64 beside it
A picture at 64 blocks wide: the preview, the block for every cell, and the stacks you need to mine.